

Throw a girl’s night to remember with a DIY Sleepover Party Kit! When my daughter decided to host a sleepover, I put together this kit to simplify the evening. With everything in one place, she and her friend could decide what activity to do next, and I could stay out of their way. It gave my daughter the responsibility and fun of hosting her own party, which she enjoyed.
After sharing my idea on Instagram, I discovered that the concept was very popular! explaining how to assemble a Sleepover Party Kit went viral with almost 50,000 views and over 2000 likes. Today, I am explaining how I put the kit together. Also, I started a new Digital Marketing section where I will share tips and trends in social media, and I will answer questions about how going viral impacts the Reels Play bonus.

Items Needed For A Sleepover Party Kit
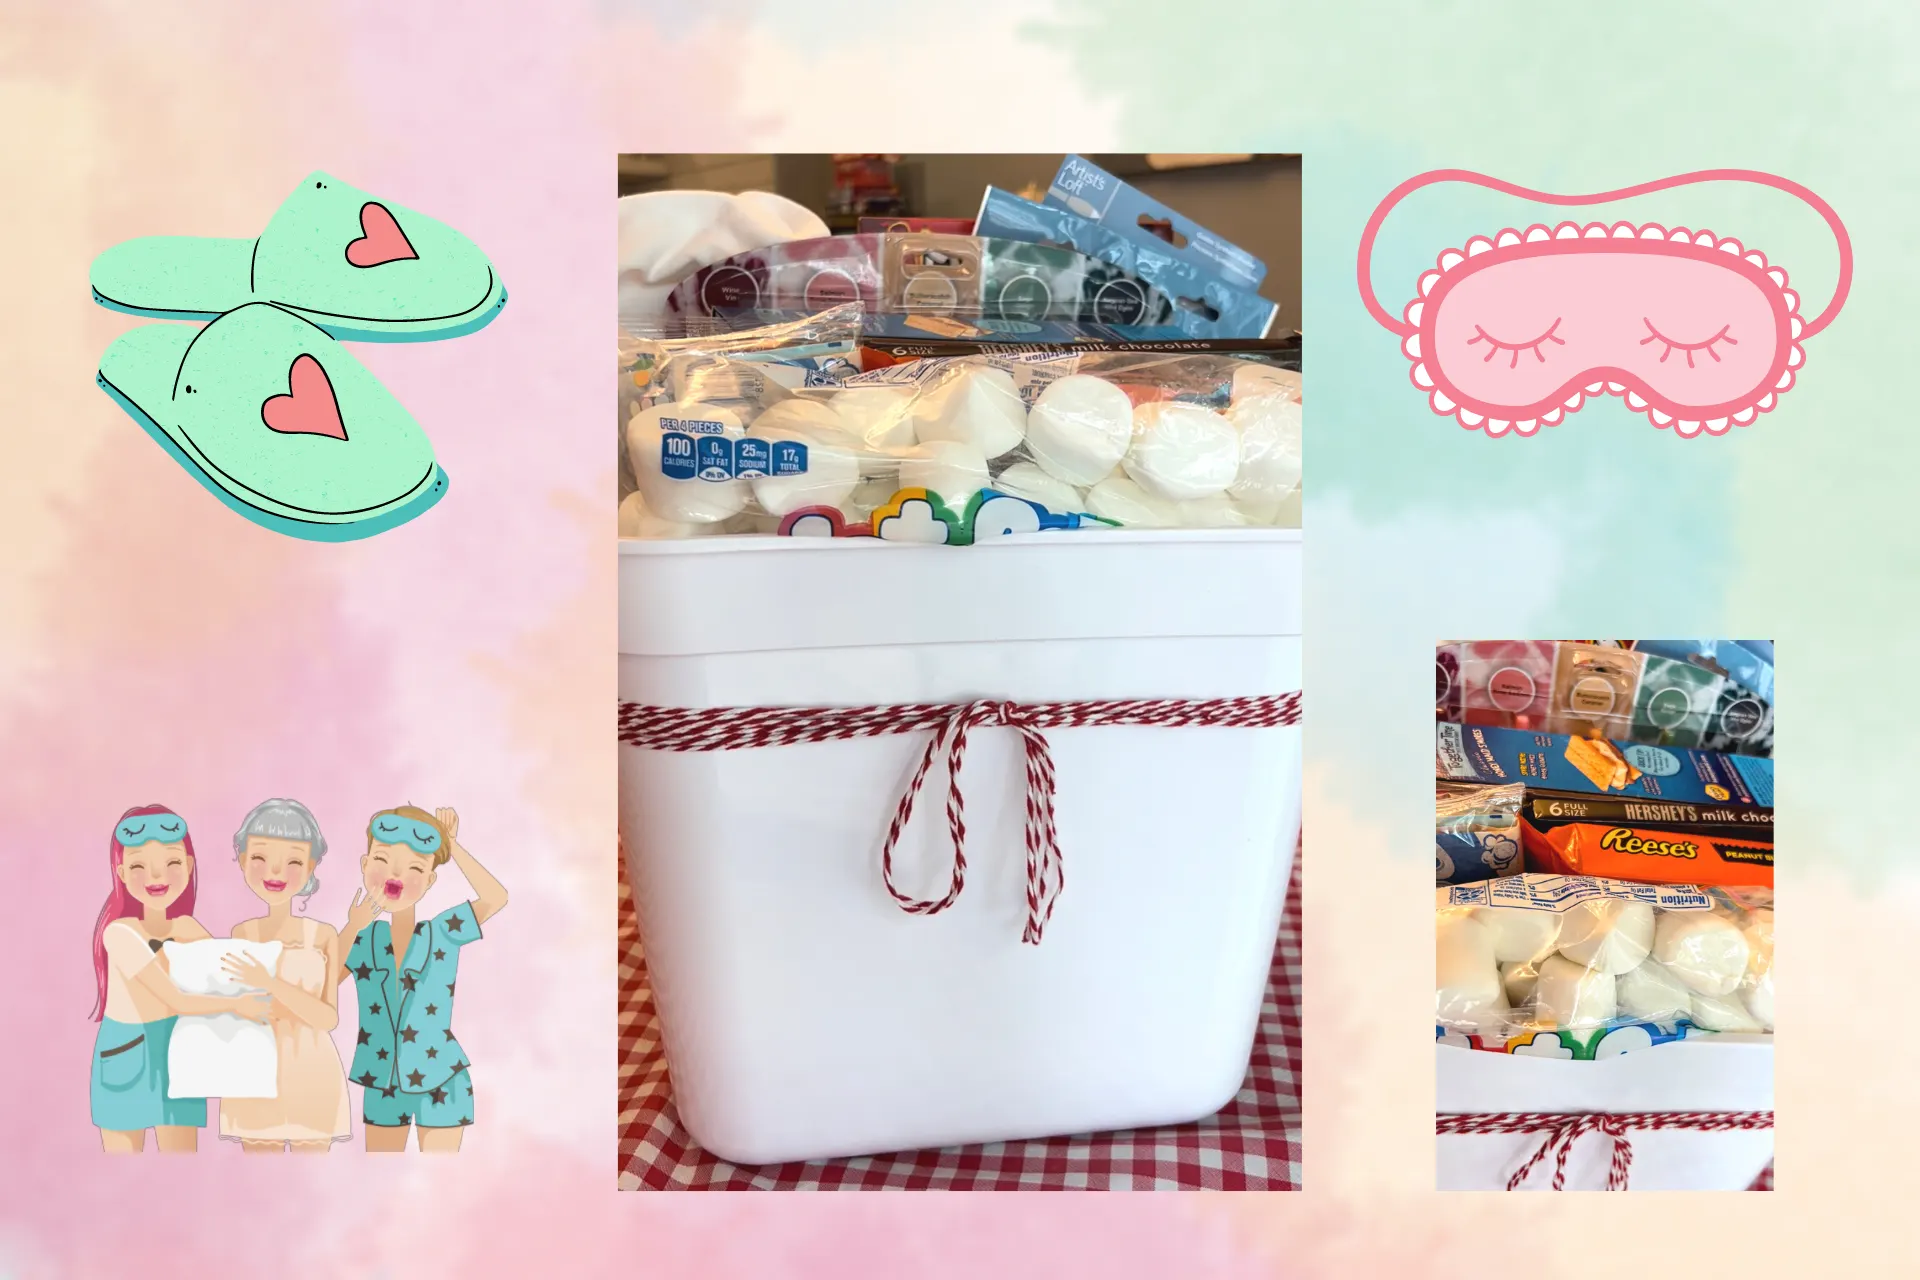
- A box or basket: I used this storage box for $5 on Target. Originally, I bought it so my daughter could clean her room before her guest came. As a last minute change, I decided to go with this cute presentation — mostly to minimize messes and the need to rummage through cabinets. It worked wonderfully!
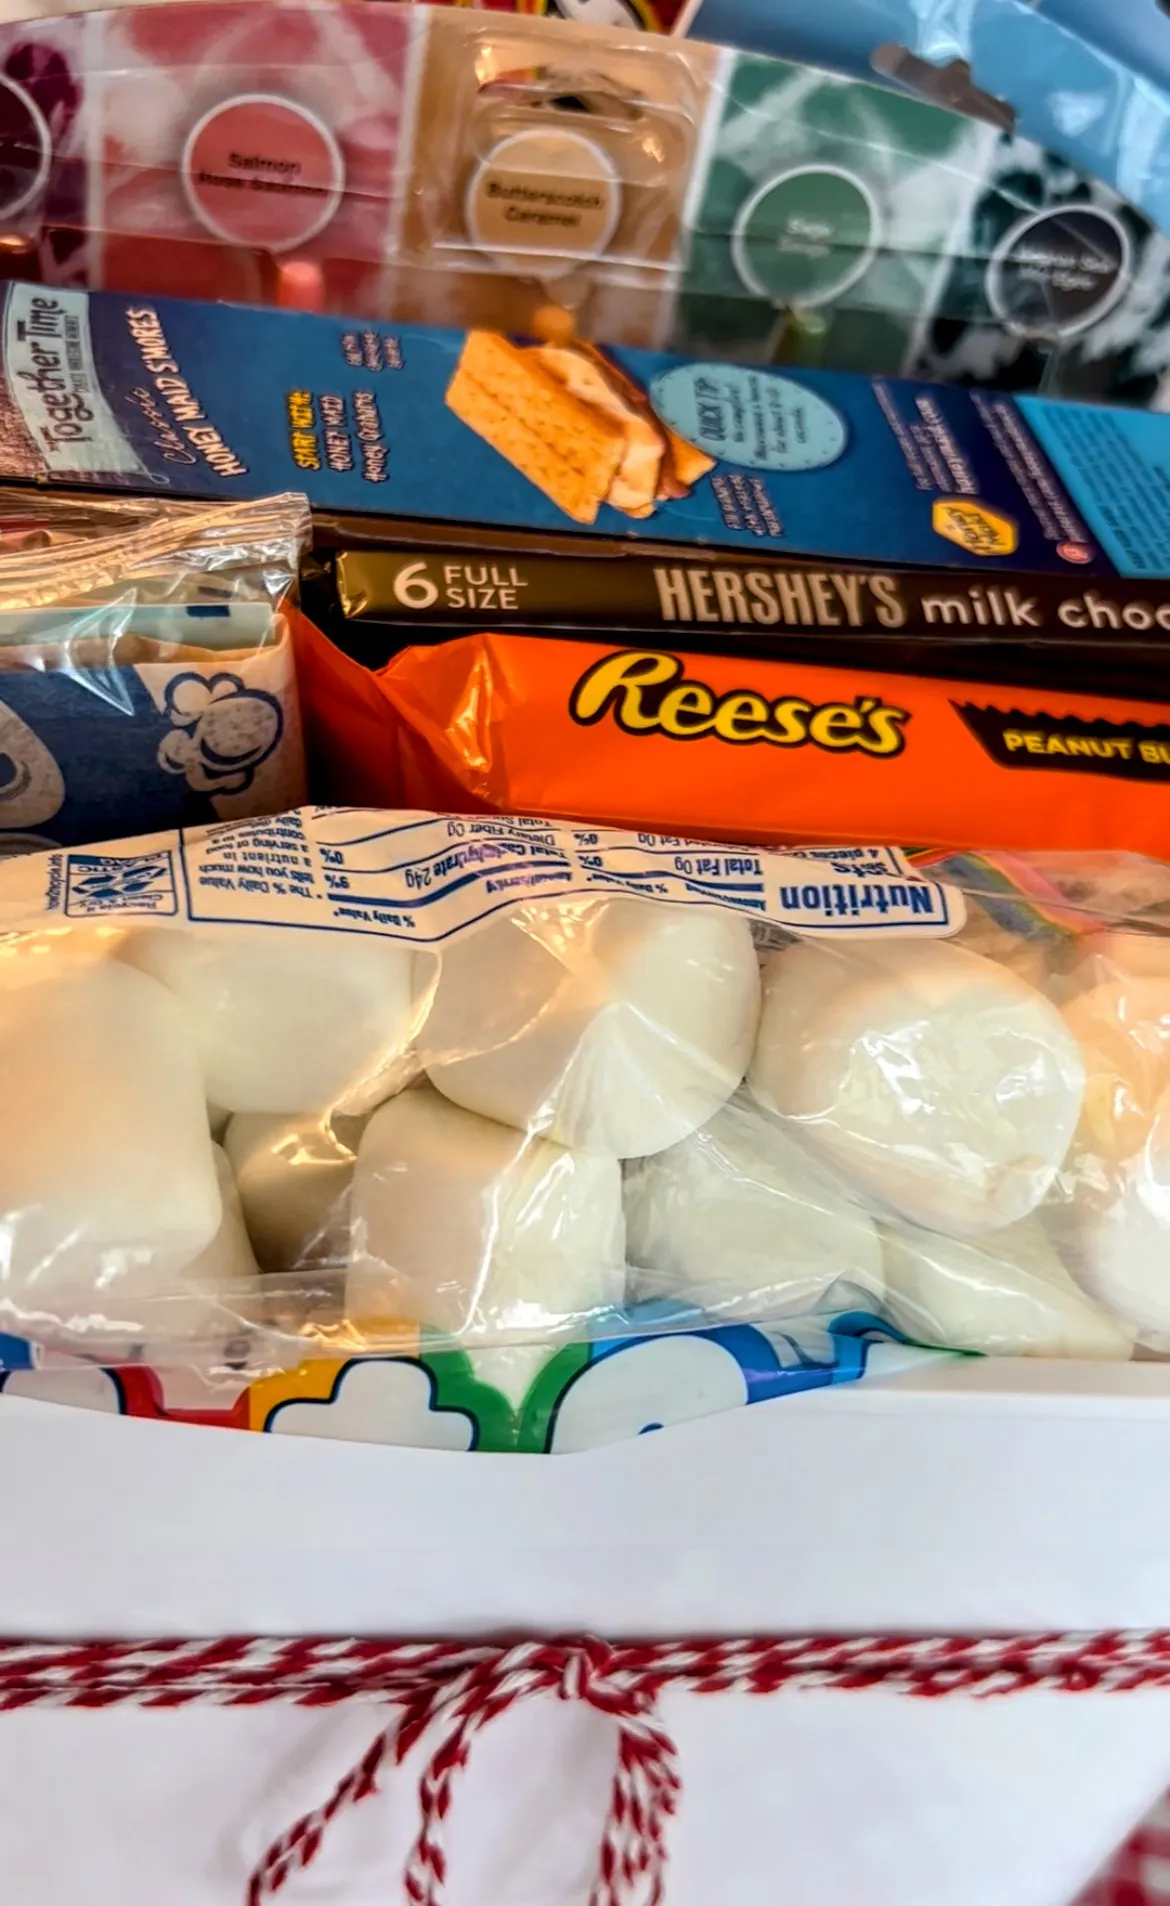
- Sweet snacks: We chose s’mores ingredients because we already own this S’mores maker. Target had a whole s’mores display with a variety of marshmallows, chocolates, and Reese’s.
- Movie snacks: Since the plan was to work their way through a season of Stranger Things, I made sure to include movie night snacks.
- Crafts: I included a tie dye kit and white shirts, small wooden boxes from Michaels, and paint brushes with acrylic paints so they could each paint a white pair of shoes.
- Box to prop the items up on: I used a small box to lift the items. The small box actually ended up being a second, larger tie dye kit with all the items needed to tie dye, including the rubber bands, plastic gloves, and a plastic sheet to lay on a table. It was an added surprise for my daughter to discover the additional crafting supplies at the bottom of the kit.
- Cloth to hide the box: I used a bright, sparkly table runner, and I folded it over the box.
- Ribbon or twine as a final touch: I had some red and white twine that I tied into a bow. I considered using the Cricut to add a cute phrase about sleepovers, but the twine made it simple to transition this kit into a storage box for my daughter to finish cleaning her room when the sleepover was done.
Since the DIY Sleepover Party Kit instilled independence in my daughter during the sleepover, my only advice would be to go over any rules ahead of time with your child. Doing the s’mores independently could be a fire risk if left unplugged or unattended, the tie dye kit can stain hands, and acrylic paint can stain surfaces.
We didn’t run into any issues since I gave these reminders in advance! The evening ran smoothly, and the Sleepover Party Kit provided the fun essentials to help that happen.
If you enjoyed reading this, check out Family and Recipes.
For more family activity ideas, make sure to follow Enjoying Family Life on , , , , , and .